TITAN-1-2M
I had an issue with the thread hole Chamfer. In the video Billy Boyce used Press/Pull instead of the Chamfer command and I was not able to get the item selections to work the way he showed it.
Also the chamfer dimension in the PDF said .275, but only seemed to work by setting the distance at .0275 with a 45-degree bevel.
The presets in the Hole command for tapers would work better in my mind instead of modifying circles afterwards.
Any thoughts here? I just started this weekend
Thanks
1 Like
Lets Tag
@Billy-Boyce and see if he can help?
1 Like
Are you sure that is the right part# TITAN-1m? The holes have a .205 chamfer. Plus I did not do the TITAN-1m TITAN did those videos. When you model the threads which I like to do the chamfer tool no longer works correct so I would do the push pull method which worked great.
1 Like
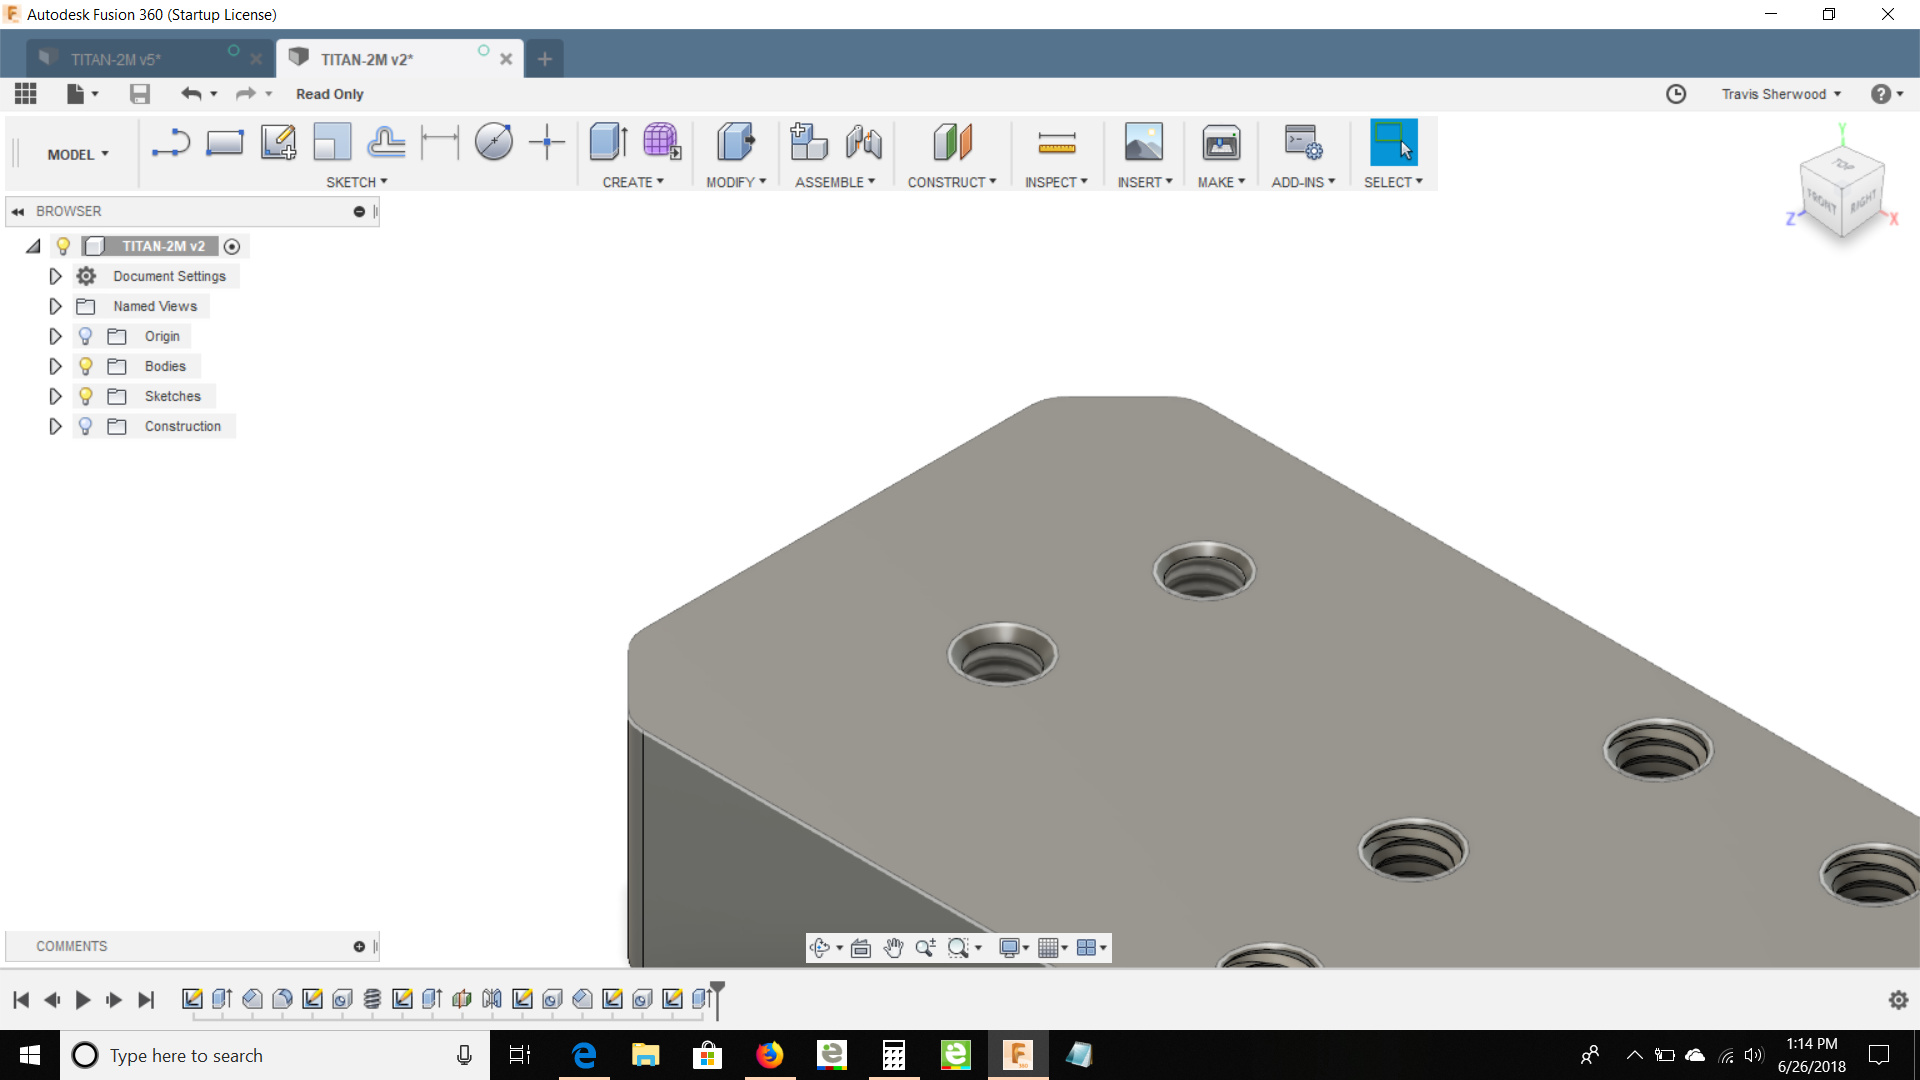
BLDG BLOCK “2M”
Rectangle with corners cut off and six holes in the middle
@Bill-Mutert
Have you tried starting over and doing it again in case you missed a step I have this issue from time to time were I just missed a step or clicked on the wrong thing.
Its looks like yo are using the chamfer??? not press pull.
If you did not draw the .275 Od circle right click and press pull depth -.1 and -45Dgree
I just added 2 holes to mine one using the chamfer and one using the press pull they came out close to the same.
Using the chamfer your .0275 depth works.
The only thing I did different this time is I used the new thread commanded witch was not available at the time I made my 2M. it did make the threads look different.
I will try again when I get home.
I did draw the circles over the tapped holes, but was not able to select both parts like the video showed to utilize Press/Pull.
Thanks
My students were having a difficult time creating a chamfer after creating a hole, then creating the thread. You have to zoom in and right click your mouse so you can see a drop down list of what you want to chamfer, the edge of the hole, not the hole, not the thread. So to make life easier for them, I had them create the hole, then create the chamfer then create the threads.
3 Likes
I will give that a try as well.
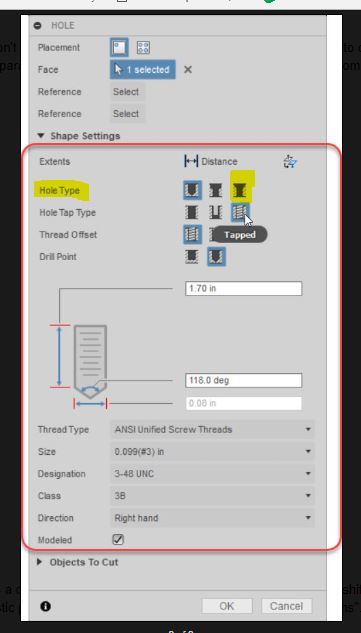
I also noticed the Hole command window has an option with chamfer.
Would that not be a better practice instead of more manual steps that could go wrong?
Thanks
1 Like
This hole option window is new per a recant Fusion update. That will work unless you model the threads by checking the box. the only problem is that the thread will start under the chamfer not cut threw it like in real life. This would be a problem if you would like to 3D print the model. I like my models as accurate as possible they turn out better and create more realistic renders. If this is something you also look for when doing the hole don’t check the model thread box then add a chamfer via the modification tab then edit the thread and turn on model thread and you should have a nice chamfer leading into your thread.
3 Likes
In my experience the chamfer on a tapped hole is meant as a “guide” to make it easier to start your bolts, just like the custom wide bevel on the bottom of a competition firearm to quickly align a reload magazine. This chamfer should not have threads on it, only the tapped hole itself.

